

DIY Tool Shed
Why Choose an 8x8 Tool Shed?
An 8x8 tool shed offers a balance of size and functionality. It’s large enough to store lawnmowers, shovels, and power tools, yet small enough to fit in most backyards without overwhelming the space. Here are some benefits of building an 8x8 shed:
Ample Storage: Provides 64 square feet of storage space.
Cost-Effective: Smaller sheds require fewer materials, reducing costs.
DIY-Friendly: The size is manageable for beginners with basic carpentry skills.
Versatile Design: Can be customized with shelves, hooks, or windows.
Whether you’re a seasoned DIYer or a first-time builder, constructing an 8x8 tool shed is achievable with the right tools, materials, and plan.
Step-by-Step Guide to Building an 8x8 Tool Shed
Step 1: Plan Your Shed and Gather Materials
Before you start building, proper planning is essential for a successful shed construction project. Here’s what you need to do:
Check Local Regulations: Contact your local zoning office to verify building codes and permit requirements for tool sheds. Some areas have restrictions on shed size or placement.
Choose a Design: Decide if you want a pre-made shed kit or a custom design. An 8x8 shed plan can be found online or at hardware stores.
Gather Materials: For a basic 8x8 tool shed, you’ll need:
Pressure-treated lumber for the foundation
Plywood for flooring and walls
2x4s for framing
Siding (e.g., vinyl or wood)
Roofing materials (shingles or metal)
Nails, screws, and construction adhesive
Tools: Hammer, drill, circular saw, level, and tape measure
Step 2: Prepare the Foundation
A sturdy foundation is critical for your 8x8 tool shed to ensure stability and longevity. Here are popular foundation options:
Concrete Slab: Ideal for a permanent, level base. Pour a 4-inch-thick concrete slab, ensuring it’s 8x8 feet.
Gravel Base: A budget-friendly option. Excavate the area, lay landscape fabric, and fill with 4-6 inches of gravel.
Wooden Skids: Use pressure-treated 4x4s for a portable shed. Level the ground and place the skids evenly.
Ensure the foundation is level using a spirit level to prevent structural issues. A solid foundation protects your tool shed from moisture and shifting.
Step 3: Build the Floor Frame
Once the foundation is ready, construct the floor frame:
Cut two pressure-treated 2x6s to 8 feet for the rim joists and two to 7 feet 9 inches for the end joists.
Assemble the frame in a square, secured with galvanized nails or screws.
Add floor joists (2x6s) every 16 inches on center.
Cover the frame with ¾-inch plywood, securing it with construction adhesive and screws.
Pro Tip: Apply a weather-resistant sealant to the plywood to protect against moisture.
Step 4: Frame the Walls
Framing the walls is a crucial step in shed construction. Follow these steps:
Cut Studs: Use 2x4s to create wall studs, cutting them to your desired wall height (typically 6-8 feet).
Build Wall Frames: Construct four wall frames (two side walls, a front wall with a door opening, and a back wall). Space studs 16 inches apart.
Add Top and Bottom Plates: Secure the studs between top and bottom 2x4 plates.
Raise the Walls: With a helper, lift the walls onto the floor frame and secure them with nails or screws. Use a level to ensure they’re plumb.
Incorporate a window or vents in your 8x8 shed plans for ventilation and natural light.
Step 5: Install the Roof
The roof protects your tool shed from the elements. Here’s how to build it:
Cut Rafters: Use 2x4s to create rafters, cutting them at an angle for a sloped roof (e.g., 4/12 pitch).
Install Rafters: Secure rafters to the top plates of the walls, spacing them 16 inches apart.
Add Sheathing: Cover the rafters with ½-inch plywood.
Apply Roofing: Install roofing felt, followed by asphalt shingles or metal roofing. Secure with roofing nails.
SEO Tip: Mention “weather-resistant shed roofing” or “durable tool shed materials” to attract searchers looking for long-lasting solutions.
Step 6: Add Siding and Doors
Choose durable siding like vinyl, wood, or T1-11 plywood for your 8x8 tool shed. Here’s how to proceed:
Install Siding: Cut siding panels to fit each wall and secure them with nails or screws.
Add Trim: Use 1x4s or 1x6s to cover seams and corners for a polished look.
Install the Door: Use a pre-hung door or build a custom door using plywood and 2x4s. Ensure it’s secure and weatherproof.
Step 7: Finishing Touches
To complete your DIY tool shed, add these final touches:
Paint or Stain: Apply exterior-grade paint or stain to protect the wood and enhance the shed’s appearance.
Add Shelving: Install shelves or hooks inside for organized tool storage.
Seal Gaps: Use caulk to seal gaps around windows, doors, and corners to prevent leaks.
Tips for a Successful 8x8 Tool Shed Build
Work with a Partner: Building a shed is easier with help, especially when raising walls or installing the roof.
Invest in Quality Materials: Pressure-treated lumber and weather-resistant materials extend the life of your tool shed.
Plan for Ventilation: Add vents or a window to prevent mold and mildew.
Budget Wisely: An 8x8 tool shed typically costs $500-$2,000, depending on materials and whether you use a kit.
Why Build Your Own 8x8 Tool Shed?
Building an 8x8 tool shed yourself allows you to save money, customize the design, and gain valuable DIY skills. Plus, it’s a practical addition to your property that boosts organization and curb appeal. By following this guide and using shed building plans, you can create a durable, functional tool shed that meets your needs.
Ready to Start? Gather your materials, check local regulations, and dive into your DIY 8x8 tool shed project today! For more inspiration, search for 8x8 shed plans online or visit your local hardware store.
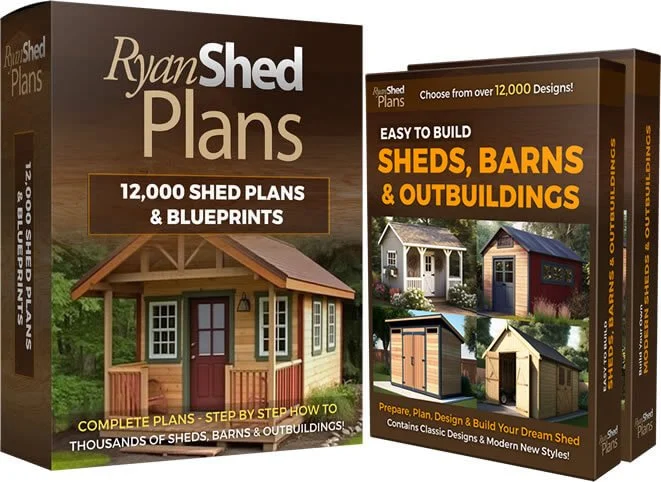
Ryan's "Perfect" Shed Plans Collection
12,000 shed plans covering all sizes and styles from classic to modern designs.Each plan contains all the components of the “perfect shed plan”, making the construction of your shed a breeze
A complete and exact list of materials
This includes cutting lists & tools, with clear labels showing what they each item is used for. (So you can buy JUST what you need, budget better and multiply your floor space).
LEGO style assembly instructionsSo the shed ends up just “Clicking” together at the end. Every part will fit PERFECTLY - just like building with Legos.
3D CAD designed imagesYou see from ALL angles, what each part is SUPPOSED to look like before you start building. With this level of clarity, you'll be building any shed with ease.